Chicken, duck & turkey
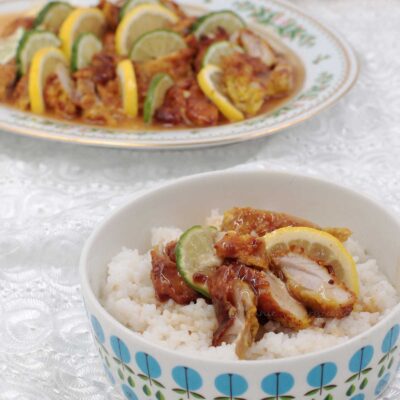
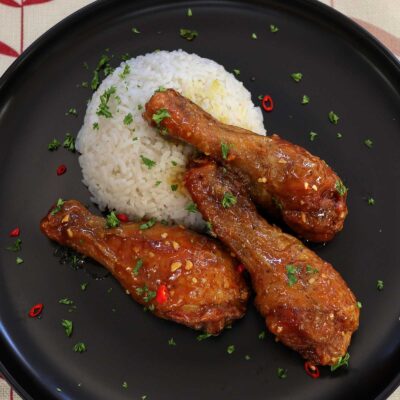
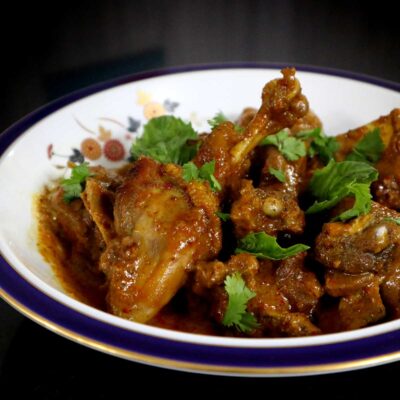
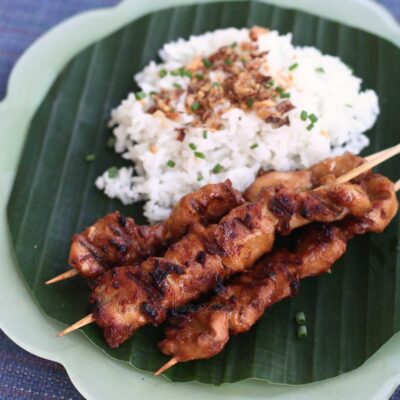
Always a popular choice for main courses, chicken can be cooked with or without bones. Start by going through our primer on chicken parts. Then, check out our favorite ways of cooking fillets and bone-in chicken (fried, grilled, in soups and in stews). Learn how to make broth from chicken bones too!
A handful of turkey and duck recipes are included in this section.